
Canning Safety Guidelines: Essential Practices for Safe Home Preservation
Canning at home can be a rewarding way to preserve food and enjoy seasonal flavors year-round. To ensure your efforts are safe and effective, it’s crucial to follow proper guidelines. Proper canning methods prevent spoilage and foodborne illnesses, allowing you to enjoy your home-canned goods with confidence.
Understanding safety procedures is key to successful canning. Using high-quality, fresh produce is important, along with correct processing techniques. Always make sure to sterilize your jars and properly seal them. If you have any doubt about the safety of a home-canned food, do not eat it.
Being aware of storage conditions also plays a vital role in keeping your canned goods safe. Jars should be stored in a cool, dark place to maintain quality. Proper storage helps extend the shelf life of your canned foods, ensuring that you can enjoy them for months to come.
Fundamentals of Canning Safety
Practicing safe canning methods is essential to prevent foodborne illnesses and ensure the food you preserve is safe to eat. Below are key points that focus on understanding risks, selecting appropriate equipment, and the significance of proper sterilization.
Understanding Botulism and Other Risks
Botulism is a serious illness caused by a toxin produced by Clostridium botulinum. This bacteria thrives in low-oxygen environments, like improperly canned foods.
To reduce the risk of botulism:
- Always use a pressure canner for low-acid foods, as it reaches higher temperatures than boiling water.
- Acidify foods (like tomatoes) properly to reduce botulism risk.
Other risks include spoilage and contamination. Signs of spoilage can include bulging lids, off odors, or unusual colors. Always inspect jars before consuming.
Choosing the Right Equipment
Using the correct canning equipment is vital. For safe canning, you need:
- Pressure canner: Necessary for low-acid foods (e.g., vegetables, meats).
- Boiling water canner: Suitable for high-acid foods (e.g., fruits, pickles).
- Glass jars: Use jars specifically designed for canning; do not reuse old jars that are not meant for canning.
Make sure that your jars, lids, and canner are in good condition. Replace any damaged items before starting.
Importance of Sterilization
Sterilizing your jars and lids is a crucial step in canning. This process eliminates harmful bacteria that can spoil your food. You can sterilize jars by:
- Boiling them in water for 10 minutes.
- Running them through a dishwasher cycle on high heat.
Also, ensure all tools you use, like spatulas and funnel, are clean. Cleanliness helps prevent contamination. Always work in a tidy environment to maintain food safety.
Best Practices for Canning
Canning requires careful attention to detail to ensure safety and preserve the quality of your food. Following proper practices will help you achieve safe and successful results in your canning process.
Preparation and Cleaning
Start by washing your hands thoroughly before you begin. Clean all surfaces and tools that you will use.
- Jars and Lids: Use standard canning jars designed for the process. Inspect them for nicks or cracks, as damaged jars can lead to spoilage.
- Utensils: Wash utensils, including funnels and spoons, in hot, soapy water. Rinse well to remove any residue.
Prepare your produce by washing it well to remove dirt and any pesticide residues. Discard any overripe or damaged pieces, as they can affect the quality of the final product.
Proper Filling Techniques
Fill jars keeping a few key points in mind:
- Leave Headspace: Ensure you leave adequate headspace (usually ½ inch) for proper sealing and food expansion.
- Avoid Overpacking: Don’t pack jars too tightly. Proper airflow during processing is crucial.
- Use a Funnel: A funnel helps prevent spills and keeps jar rims clean.
Make sure to remove air bubbles by sliding a non-metallic spatula along the sides of the jar. This helps ensure an airtight seal, which is vital for food safety.
Sealing and Processing
After filling the jars, it’s time to seal them properly.
- Lids: Use new, flat lids with your jars. Ensure they fit your jars well.
- Apply Lids Correctly: Place the lid on the jar and screw the band on until it is fingertip-tight.
Processing methods differ based on acidity levels:
- High-Acidity Foods: Use a water bath canner for fruits, jams, and pickles.
- Low-Acidity Foods: Use a pressure canner for meats and vegetables.
Follow recommended processing times based on your recipes and altitude to ensure safe preservation.
Storing Canned Goods
Once jars are sealed, let them cool at room temperature.
- Check Seals: After cooling, check that lids are properly sealed. Press the center; it should not pop back.
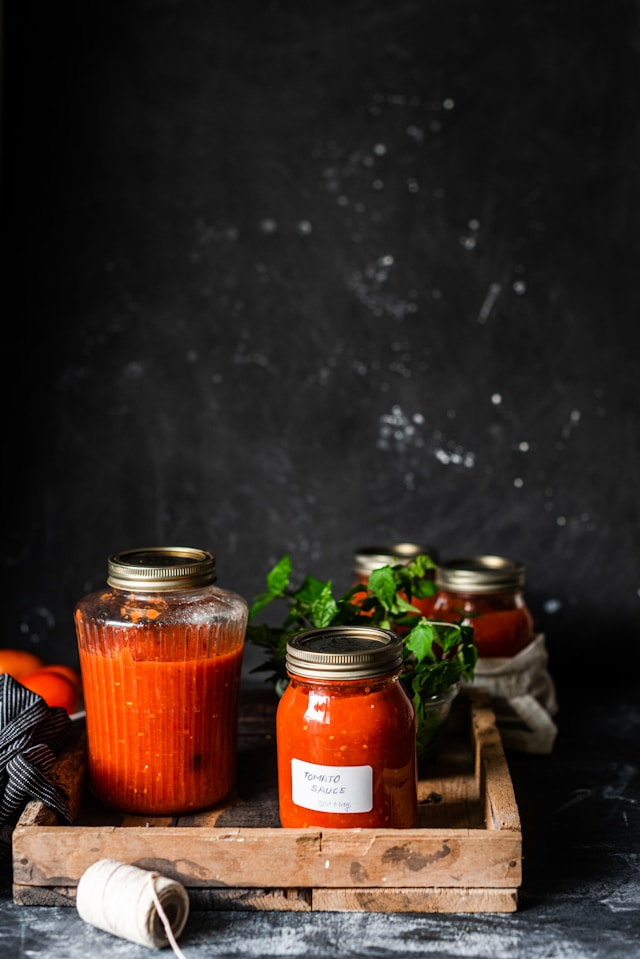
- Label: Organize your canned goods by labeling the jars with contents and date.
Store jars in a cool, dark, and dry place. Avoid locations near heat sources or direct sunlight, which can degrade the quality. Check stored jars periodically for signs of spoilage, like bulging lids or leaking liquid.